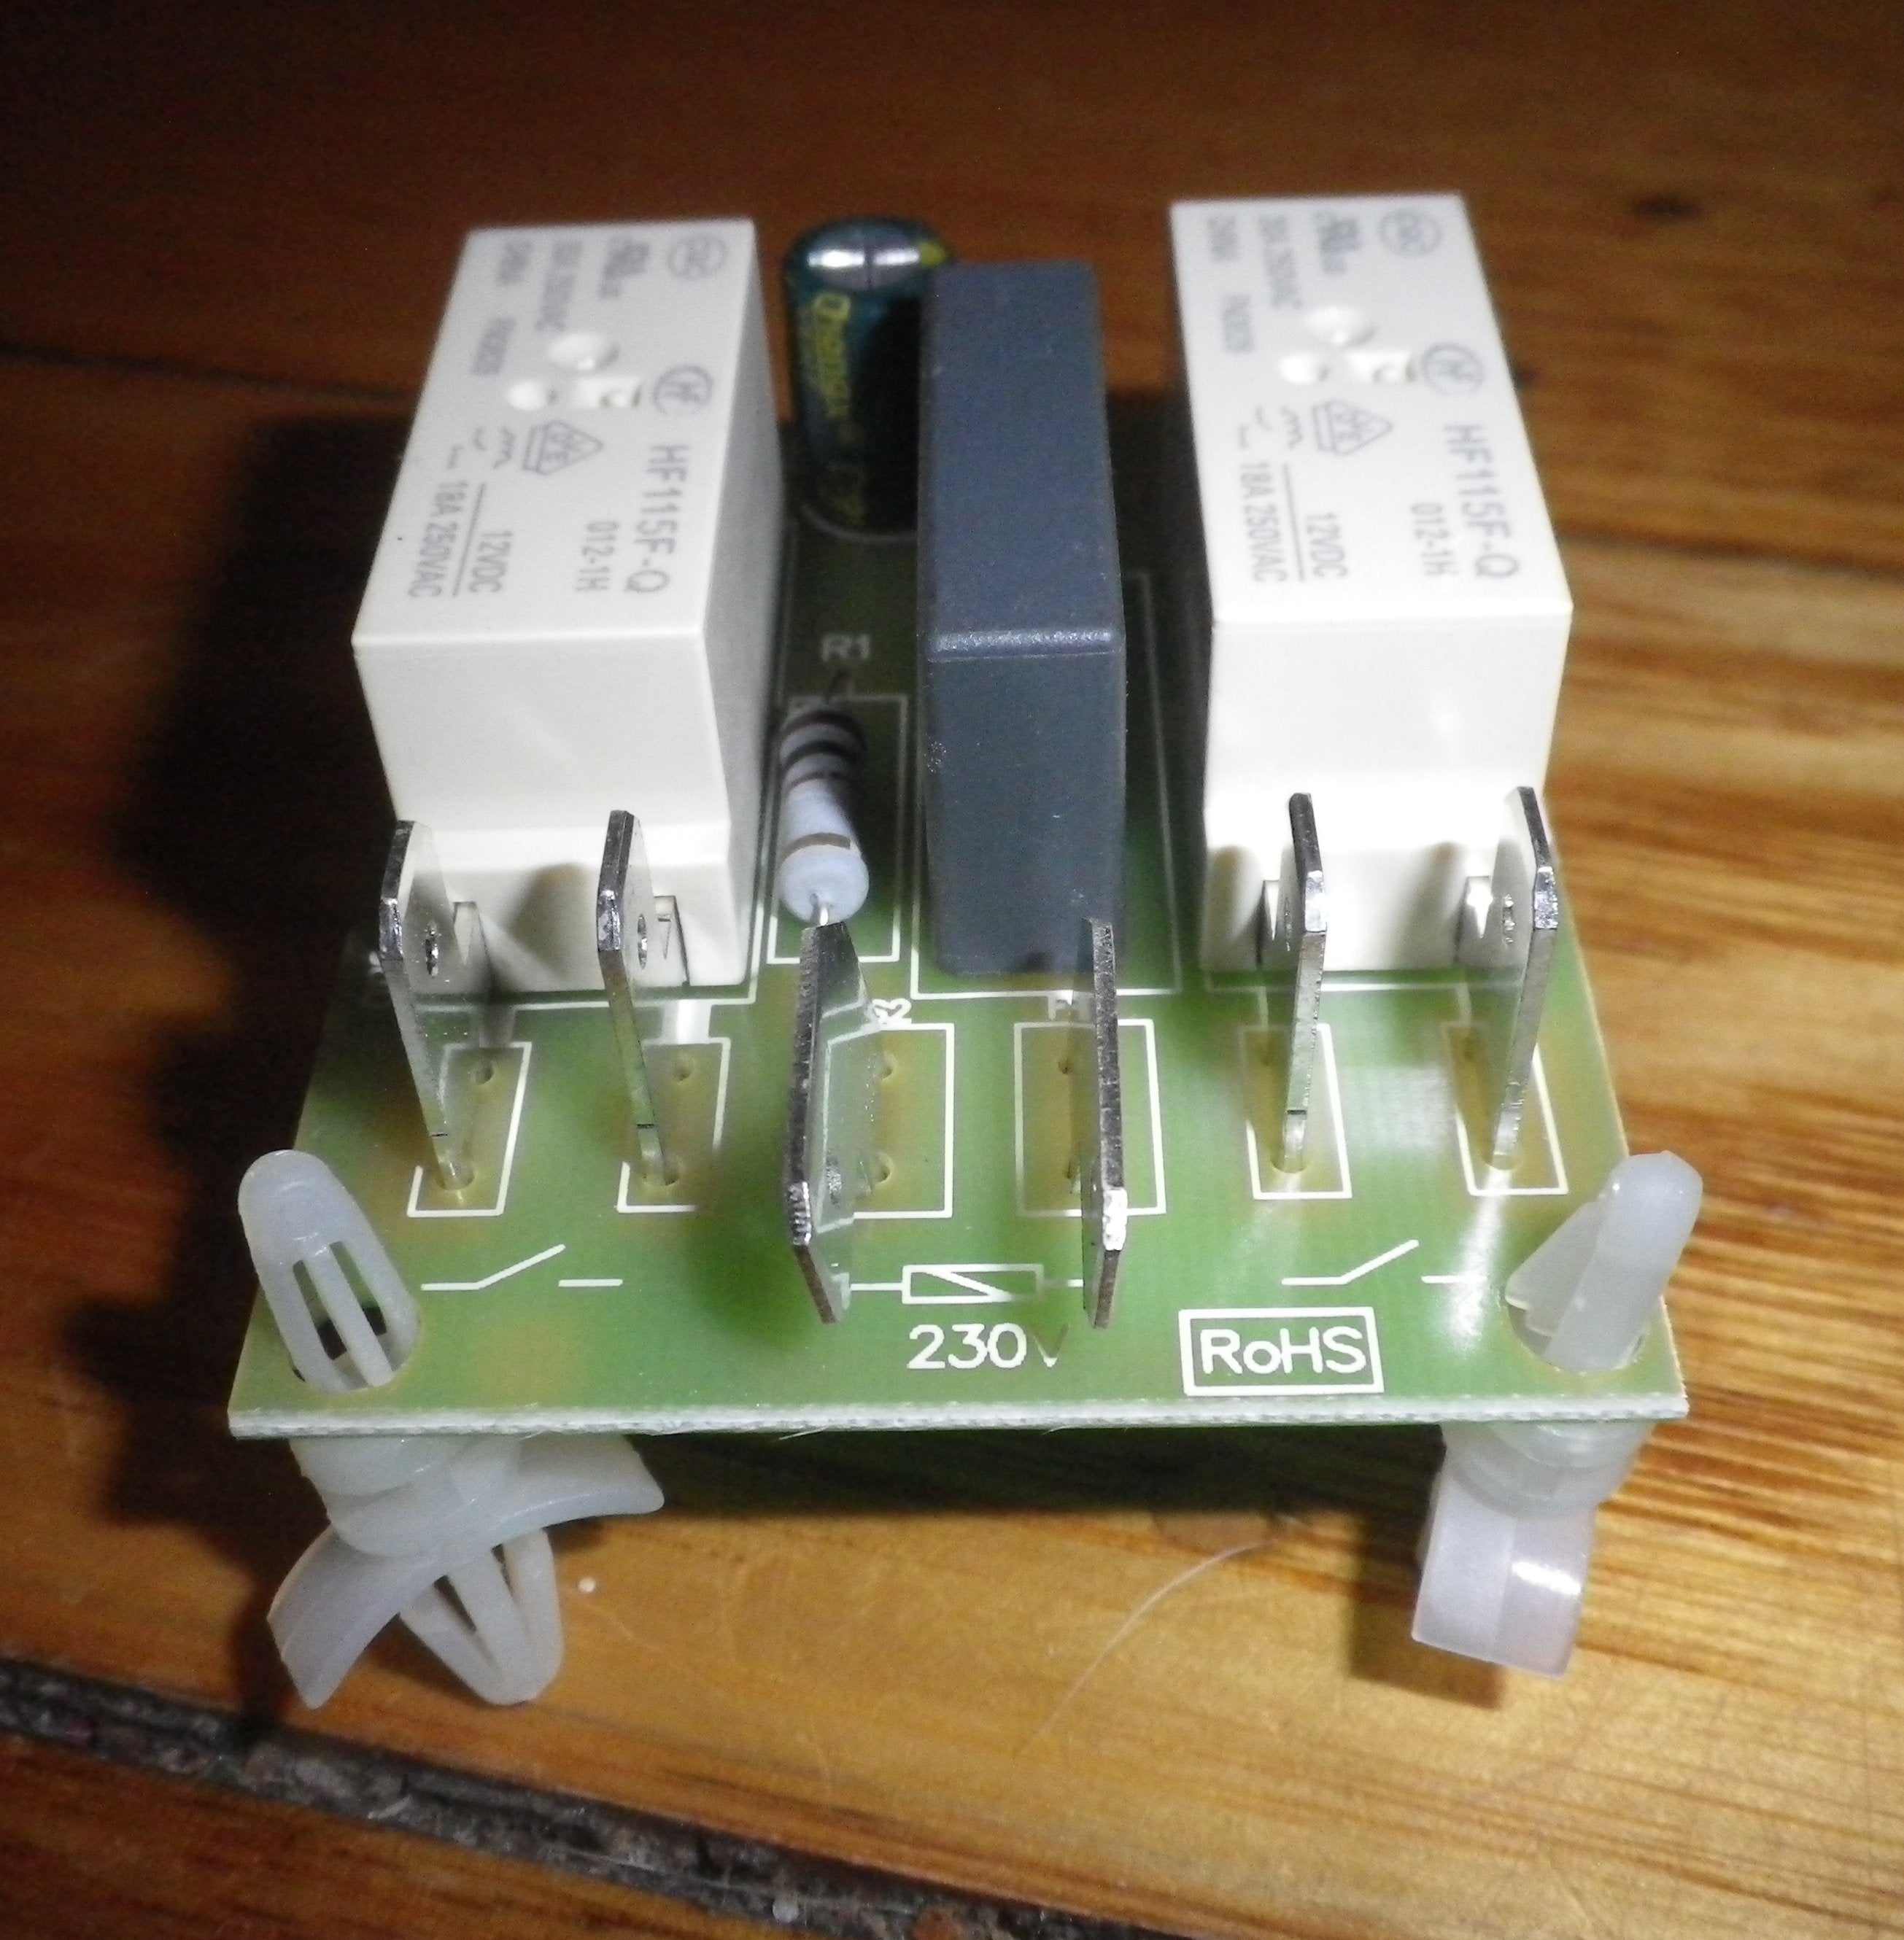
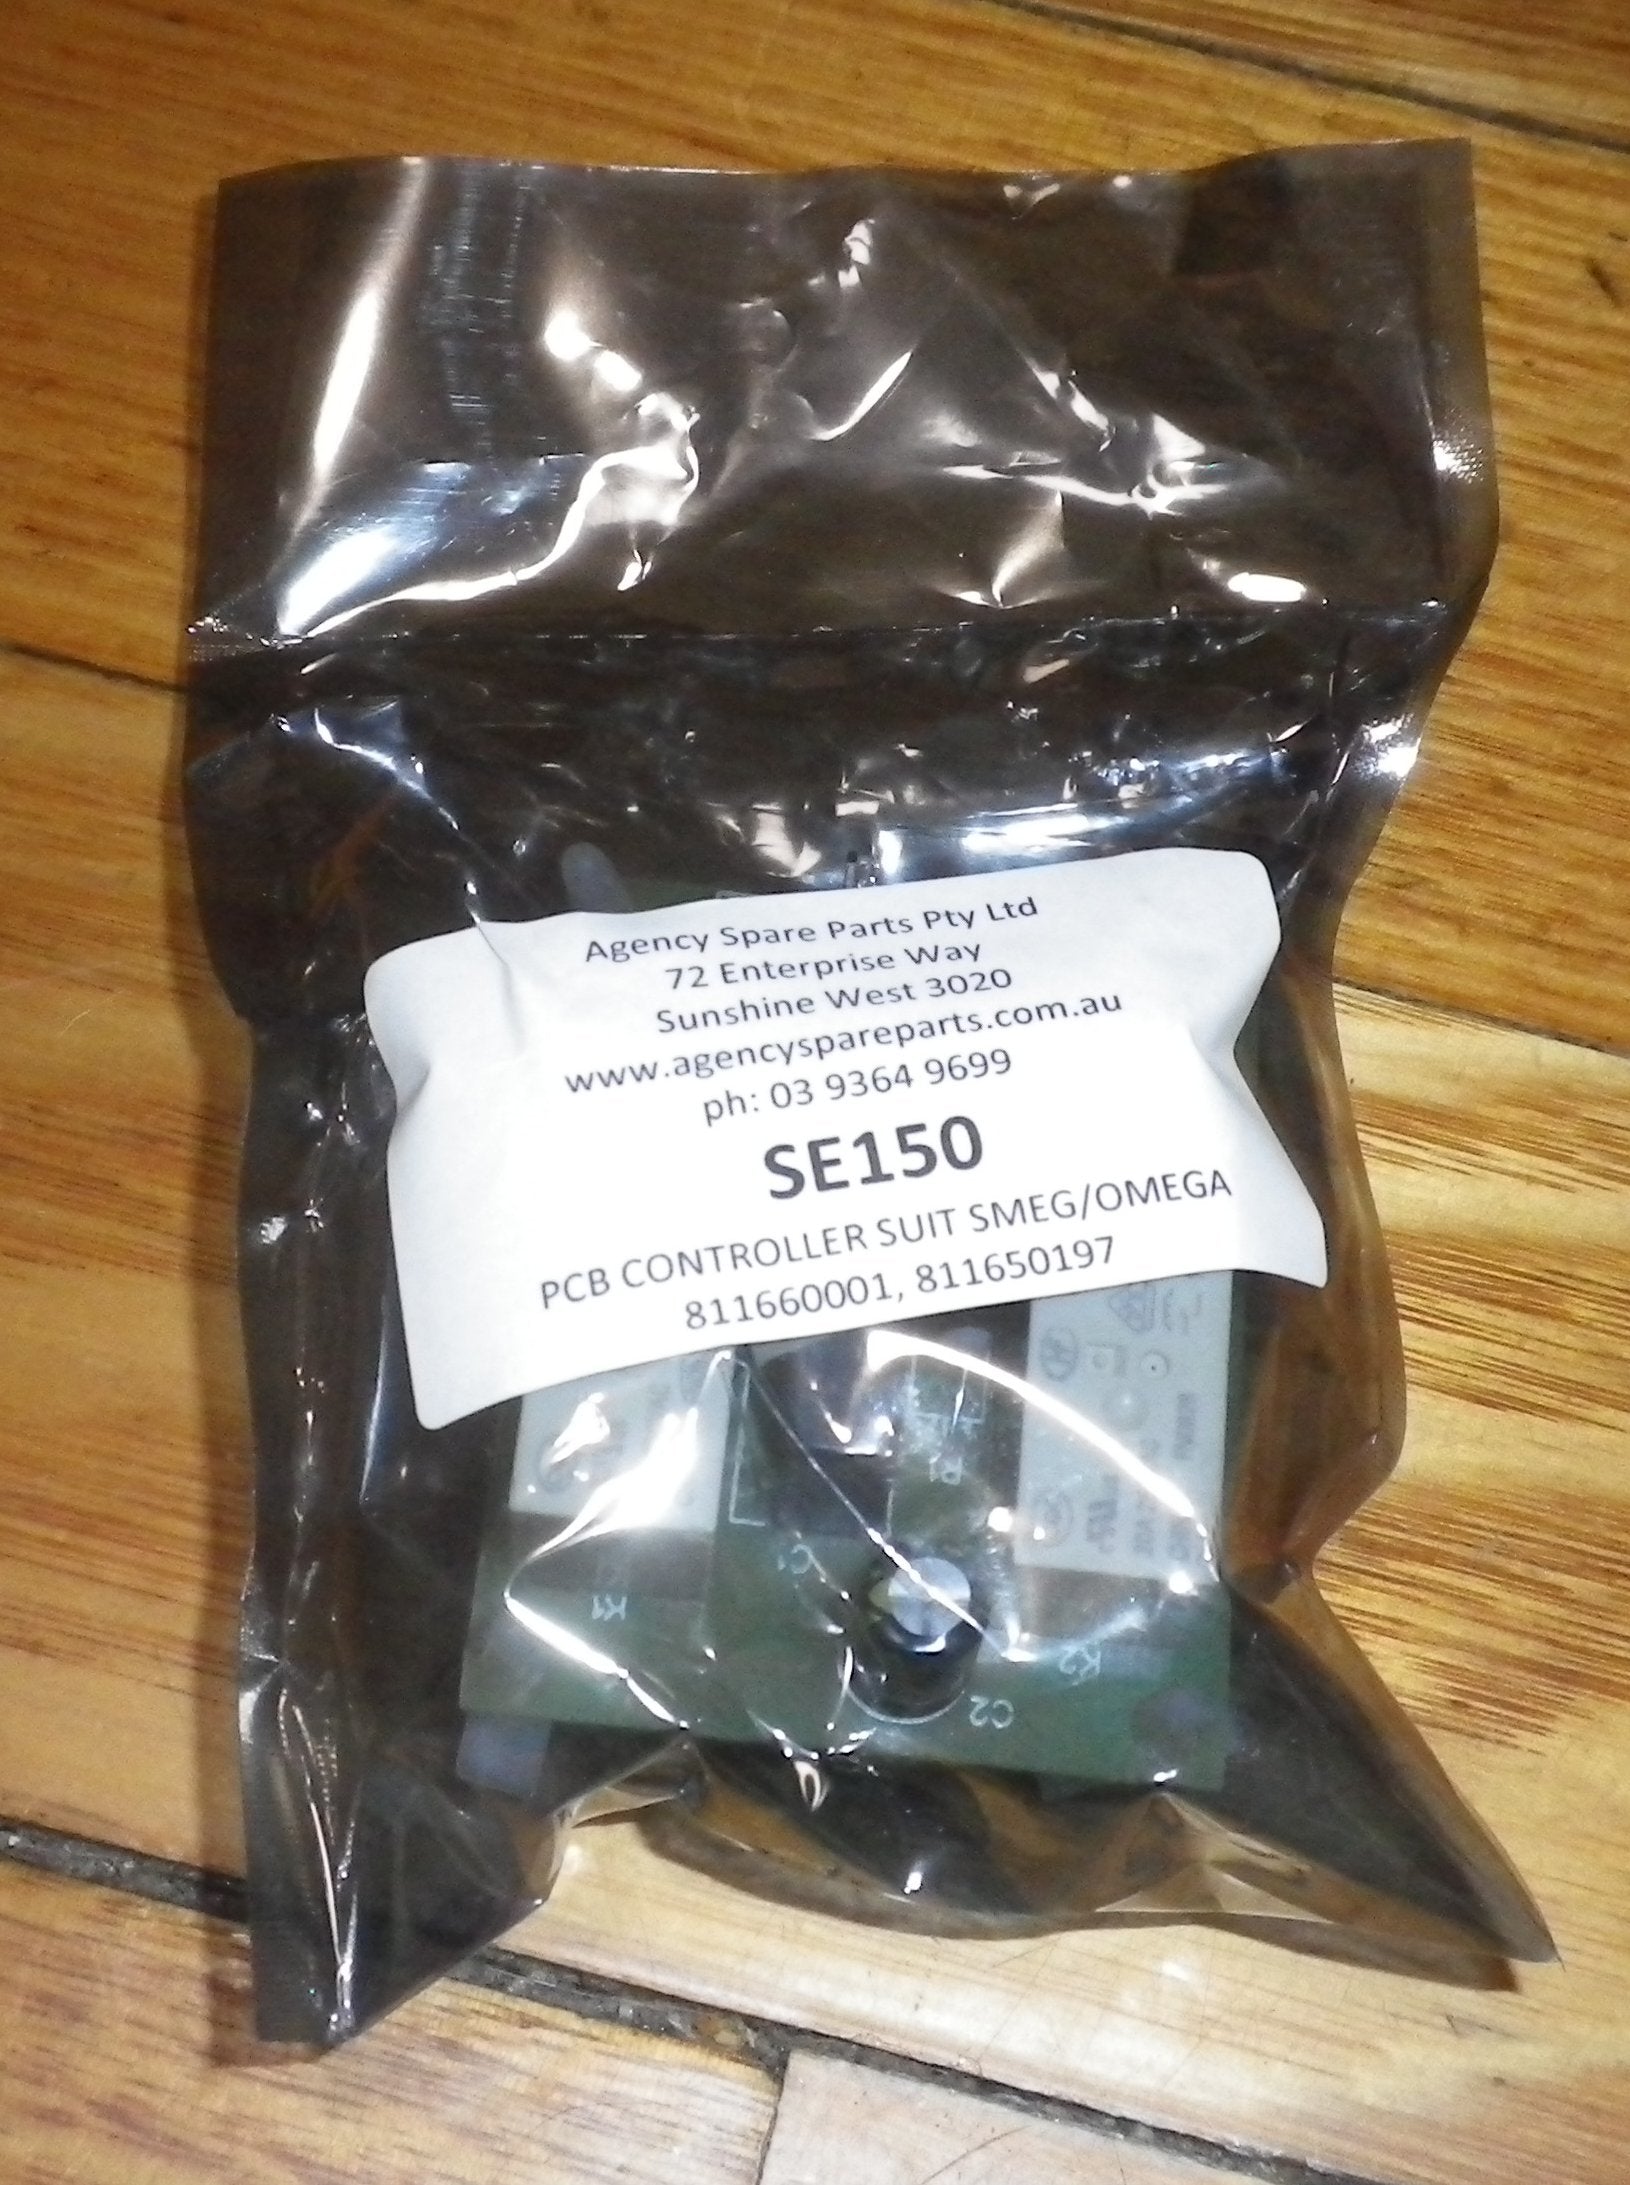
Upgrade your Omega or Smeg oven with our high - quality Oven Control Relay Printed Circuit Board. This PCB module is a must - have for maintaining the smooth operation of your oven or stove. Part No. SE150 is a reliable choice, and it also has other part numbers like 1673081, 1769407, 43499, 10752, 152355, EBZ60821142. It replaces Smeg Part Nos. 811660001, 816650197. This versatile part fits a wide range of Omega and Smeg ovens and stoves, including popular models such as OF901XA, OF901XZ, OF902XA, and many more. With over 25 years of experience in supplying appliance parts to both the trade and retail sectors, you can buy this product with full confidence, knowing you're getting a reliable and high - quality component for your kitchen appliance.


Using this oven control relay PCB module is easy. First, make sure your oven is unplugged or the power is turned off at the circuit breaker to avoid any electrical hazards. Locate the old PCB module in your oven or stove. Carefully remove the old module by disconnecting the wires and unscrewing any mounting screws. Then, connect the wires to the new module in the same way they were connected to the old one. Secure the new module in place with the screws. Once everything is connected and secured, turn the power back on and test your oven. When it comes to maintenance, keep the module clean. You can use a soft, dry cloth to wipe away any dust or debris. Avoid using any harsh chemicals or abrasive materials as they could damage the module. If you notice any issues with your oven after installing the module, like it not heating properly or strange noises, turn off the power immediately and contact a professional technician.