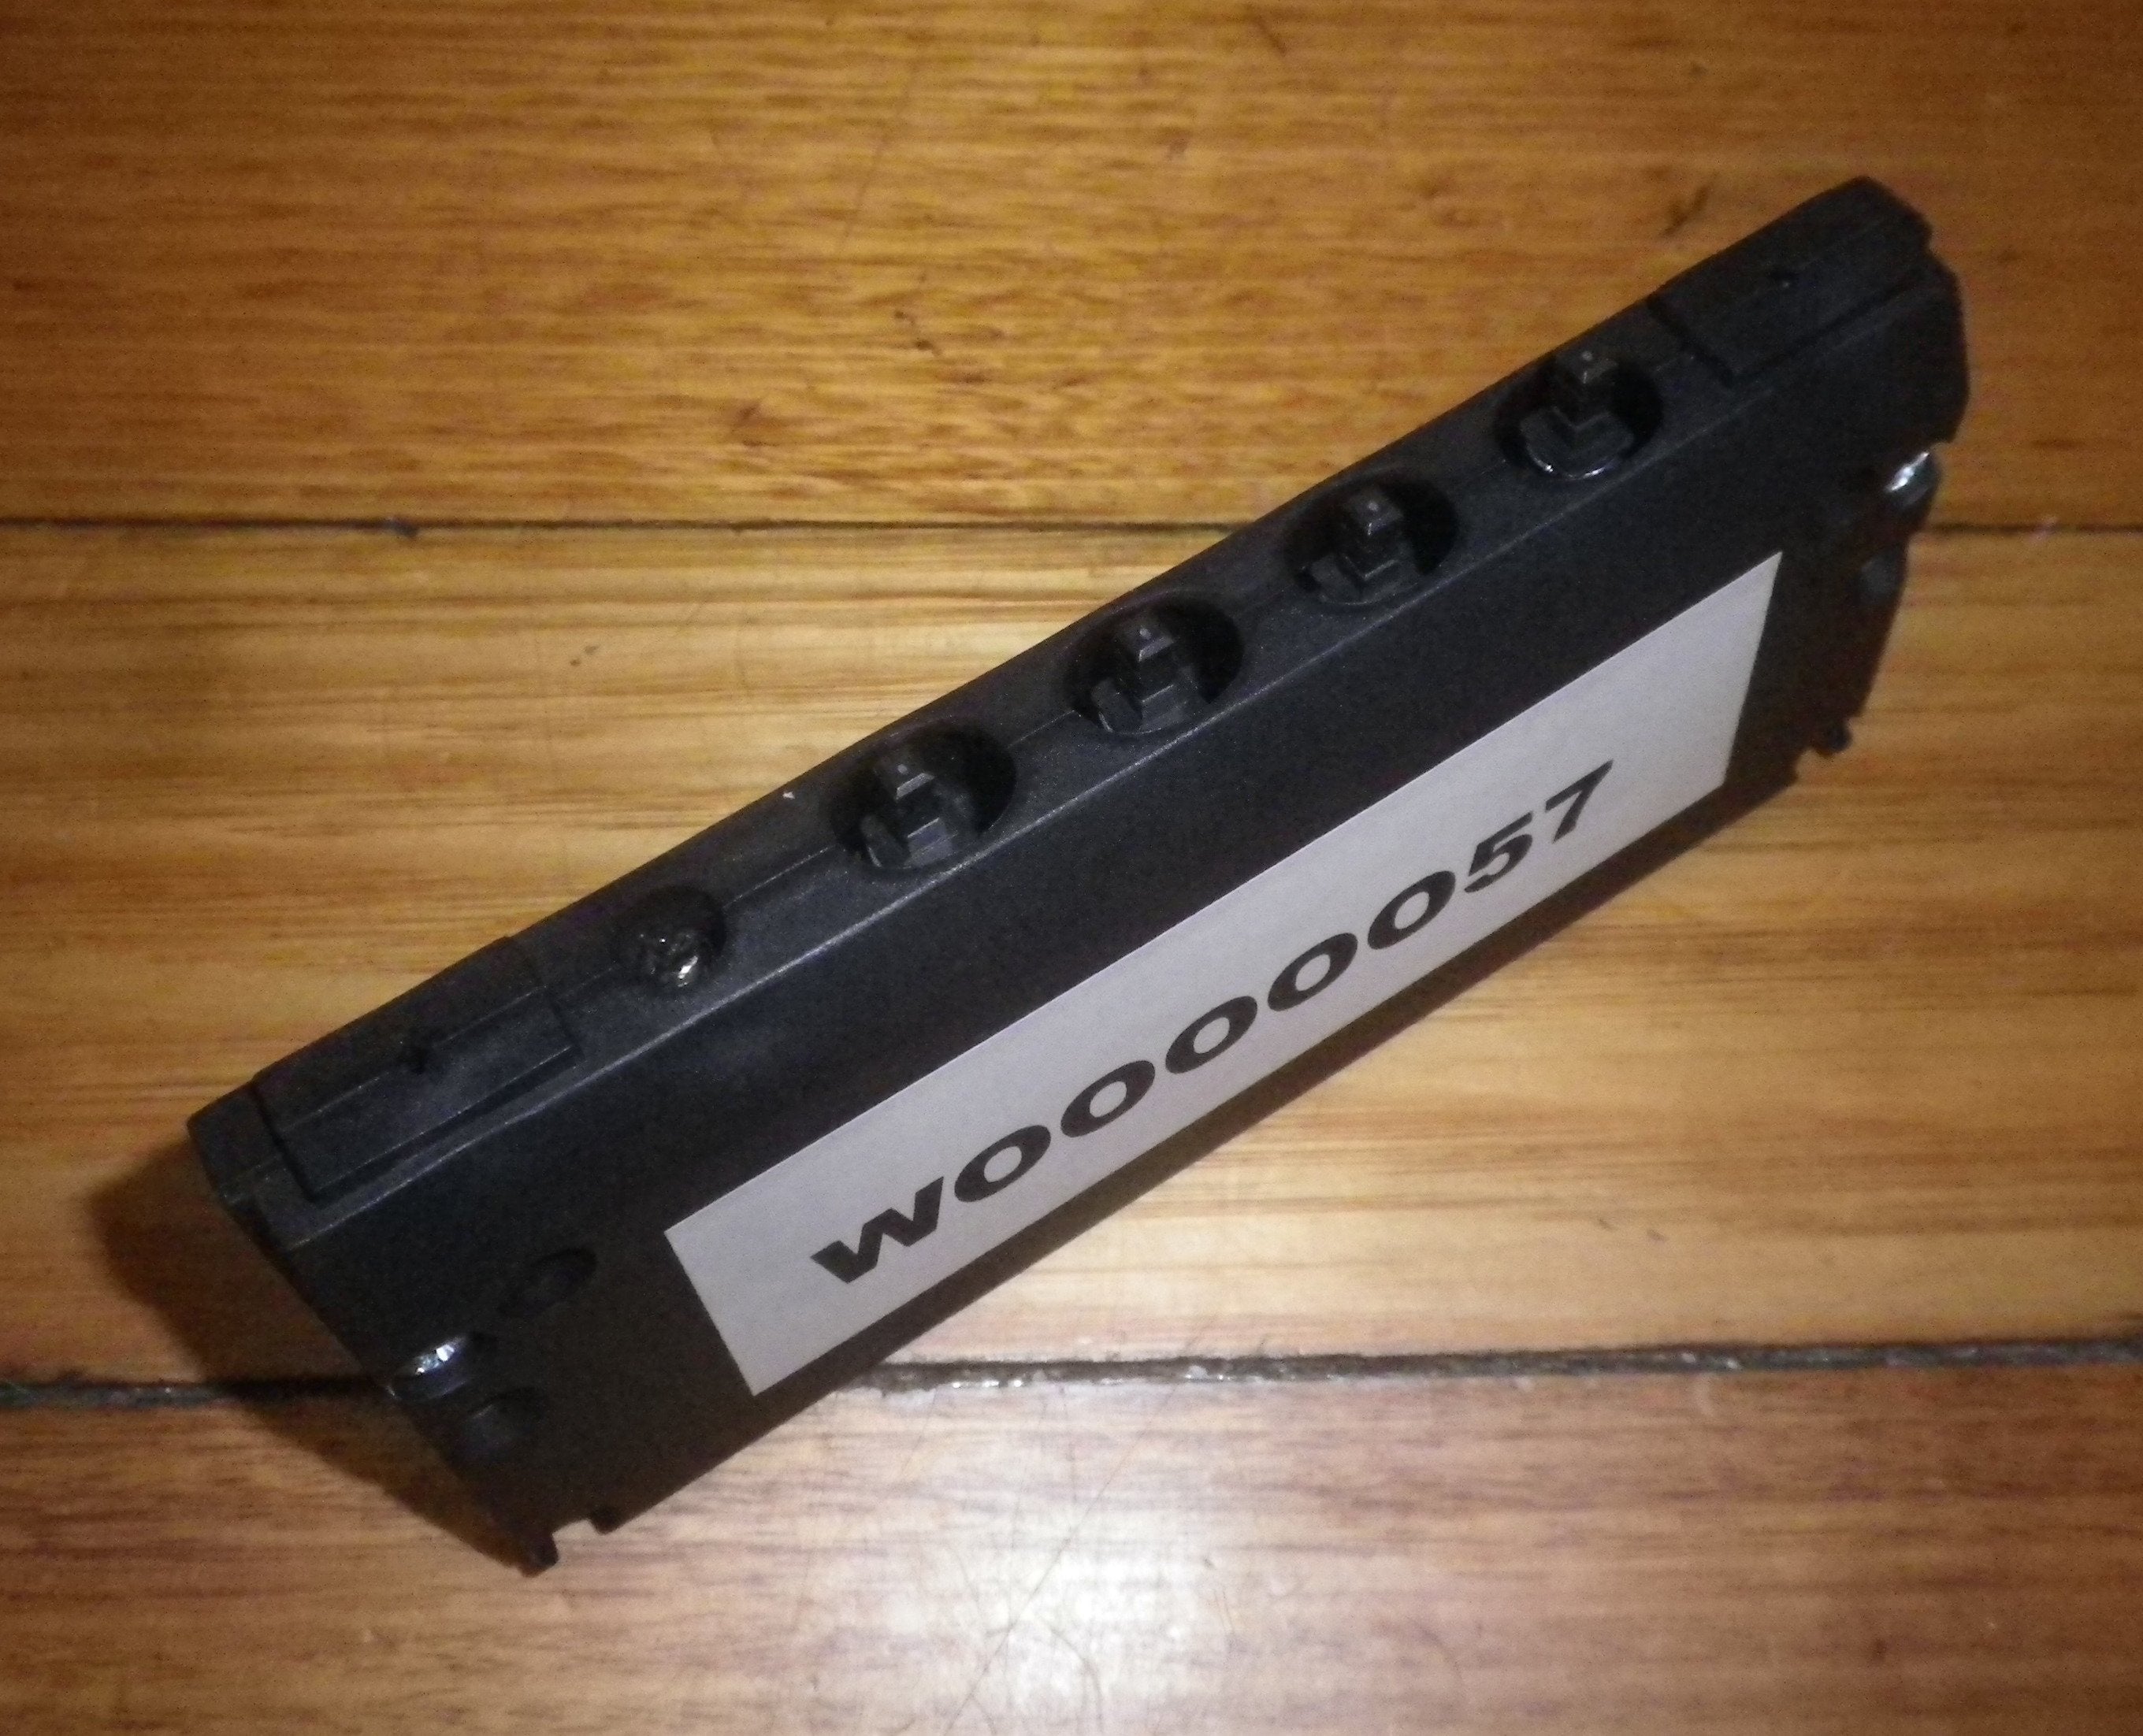
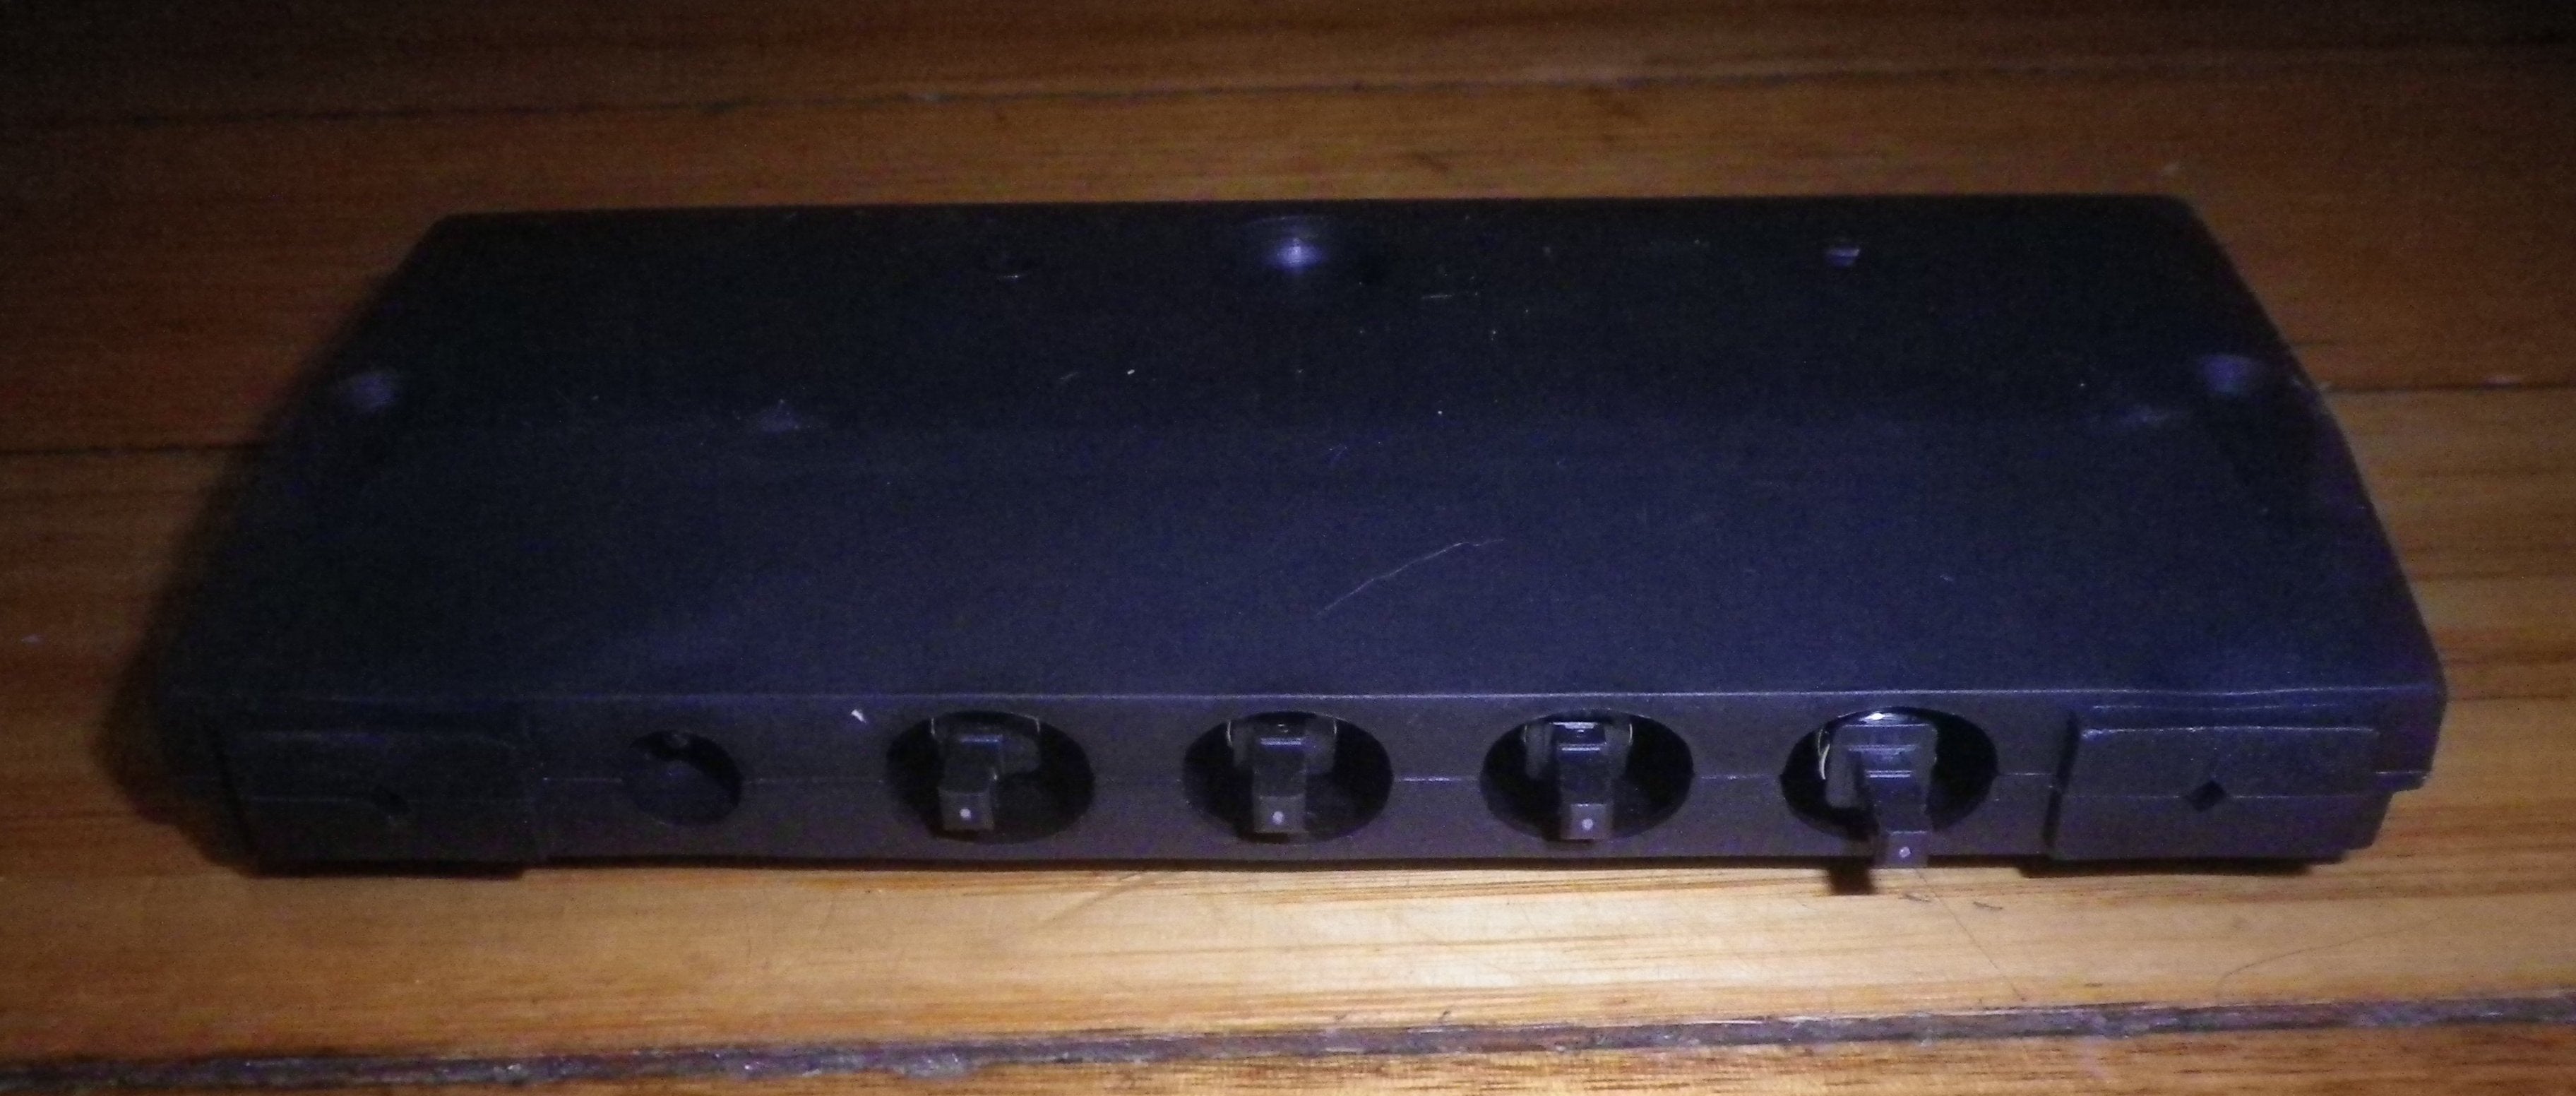
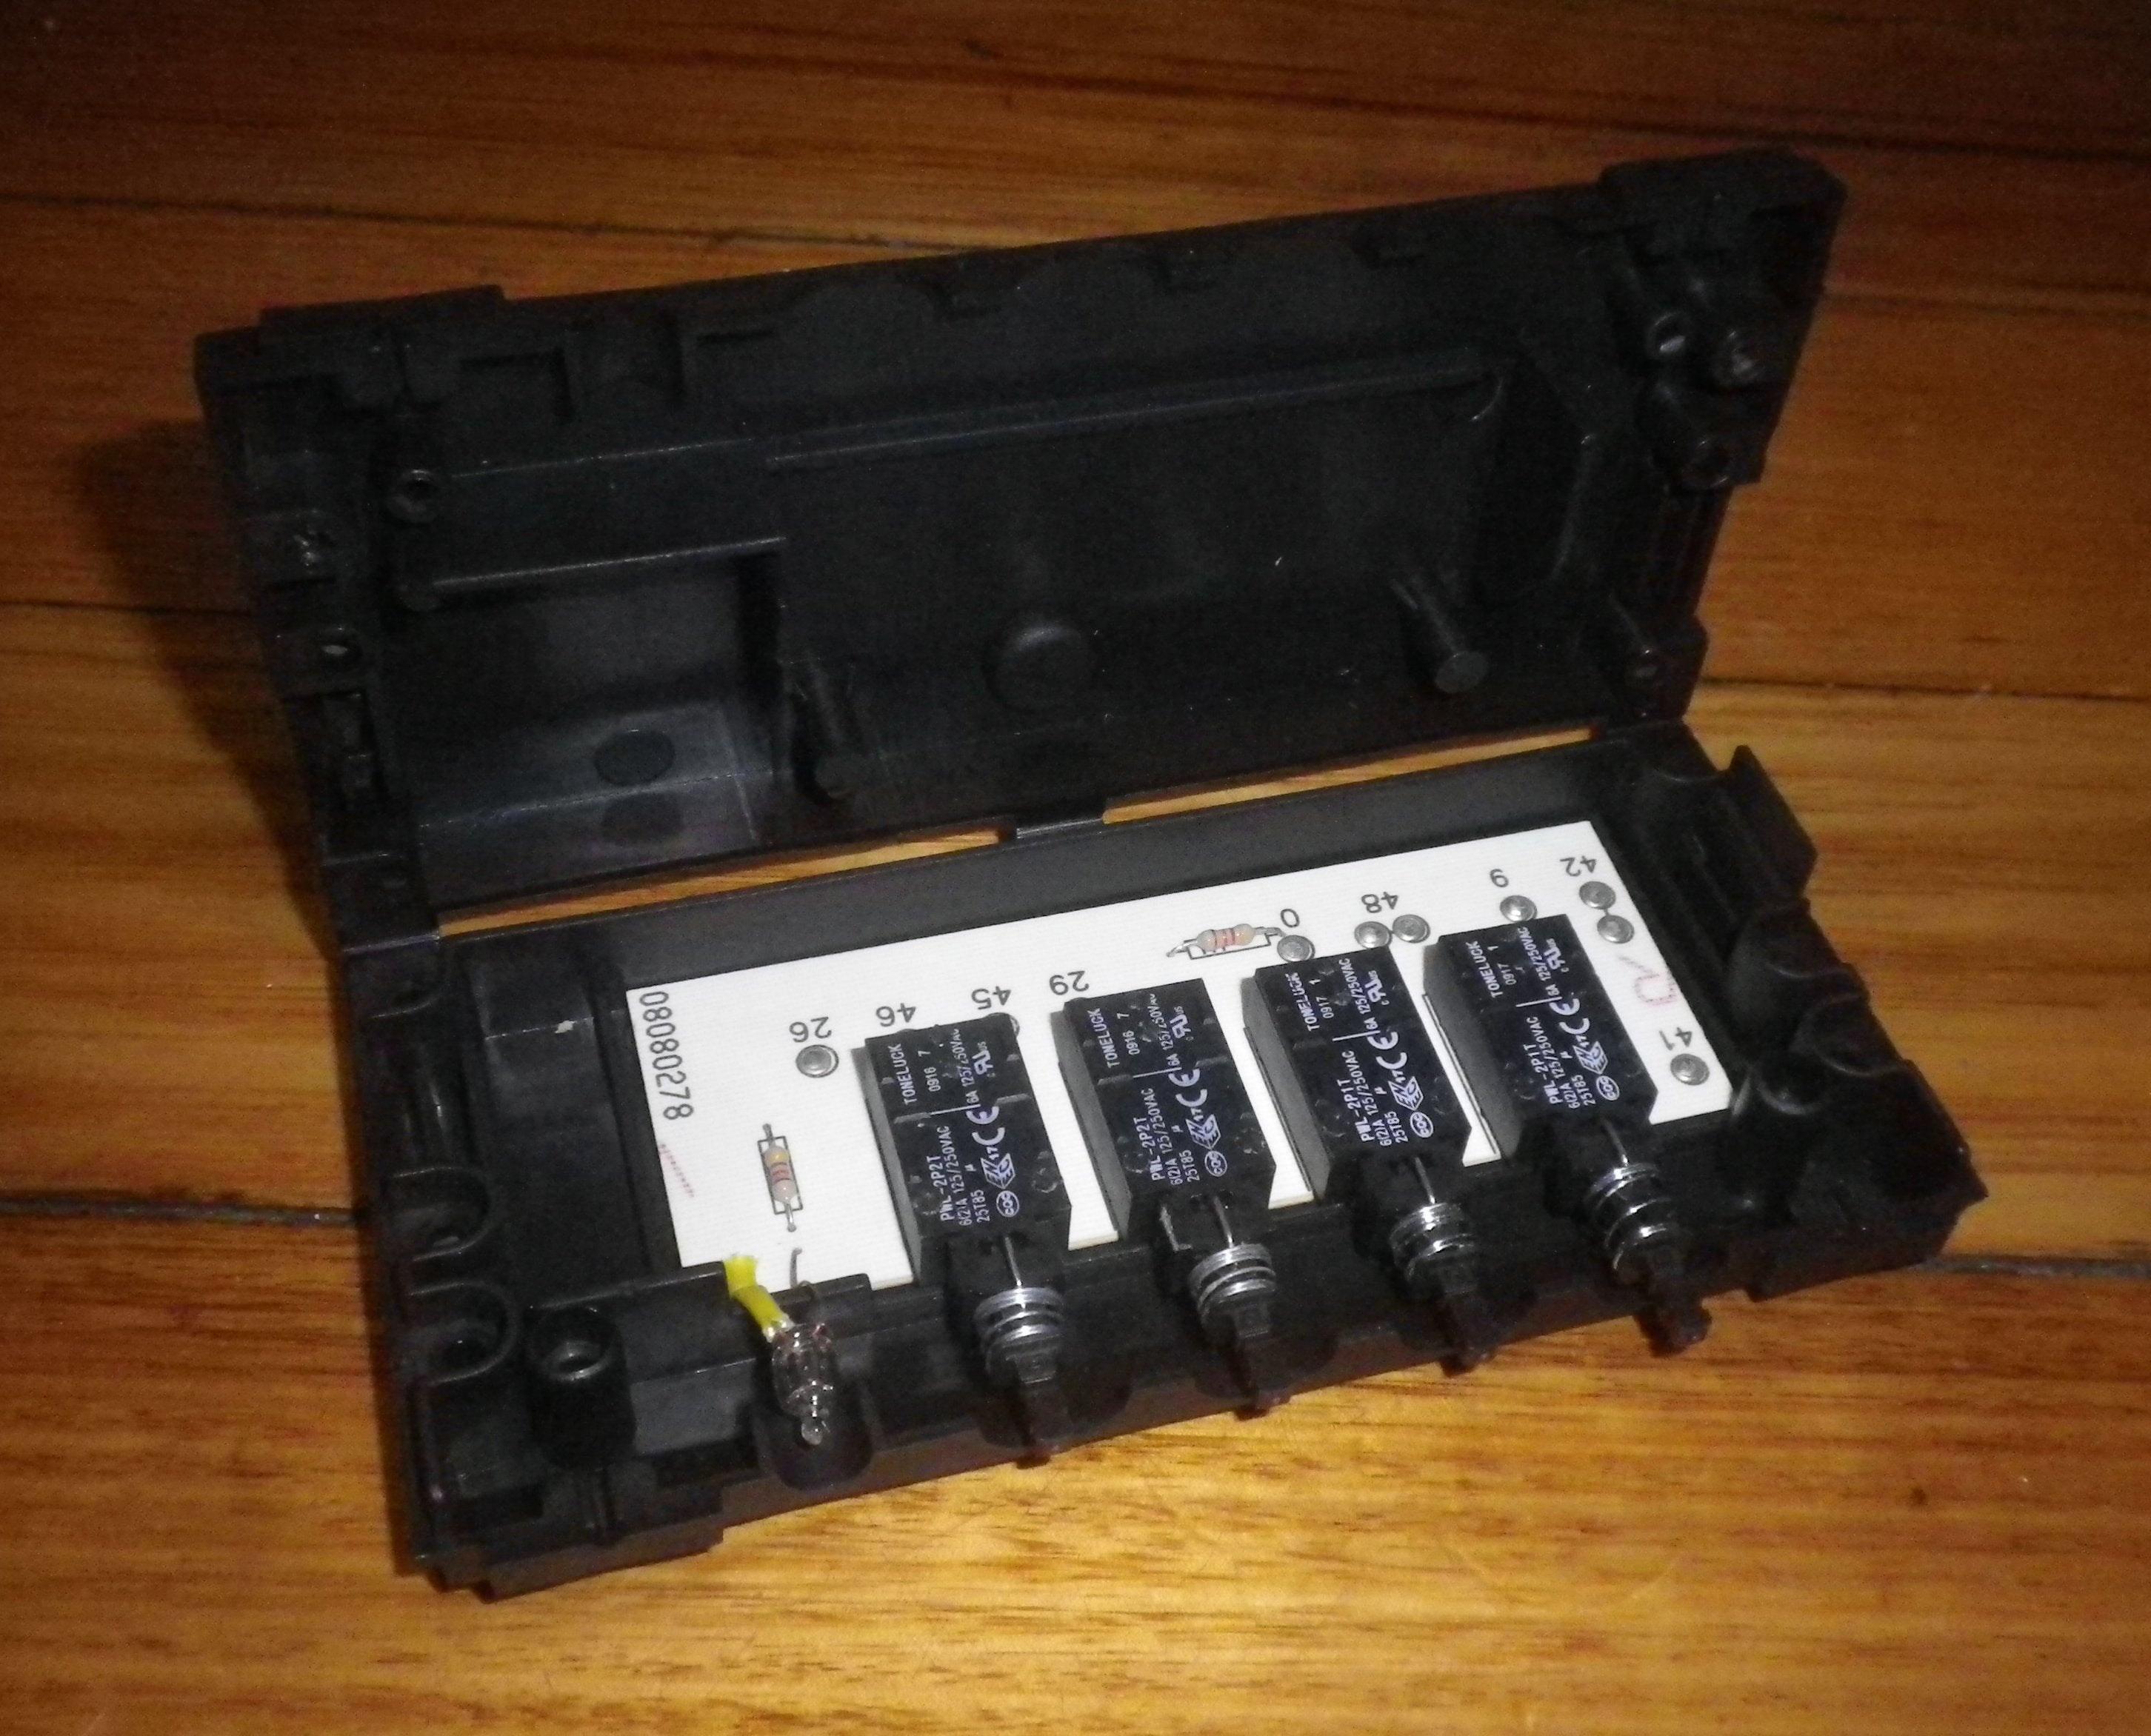
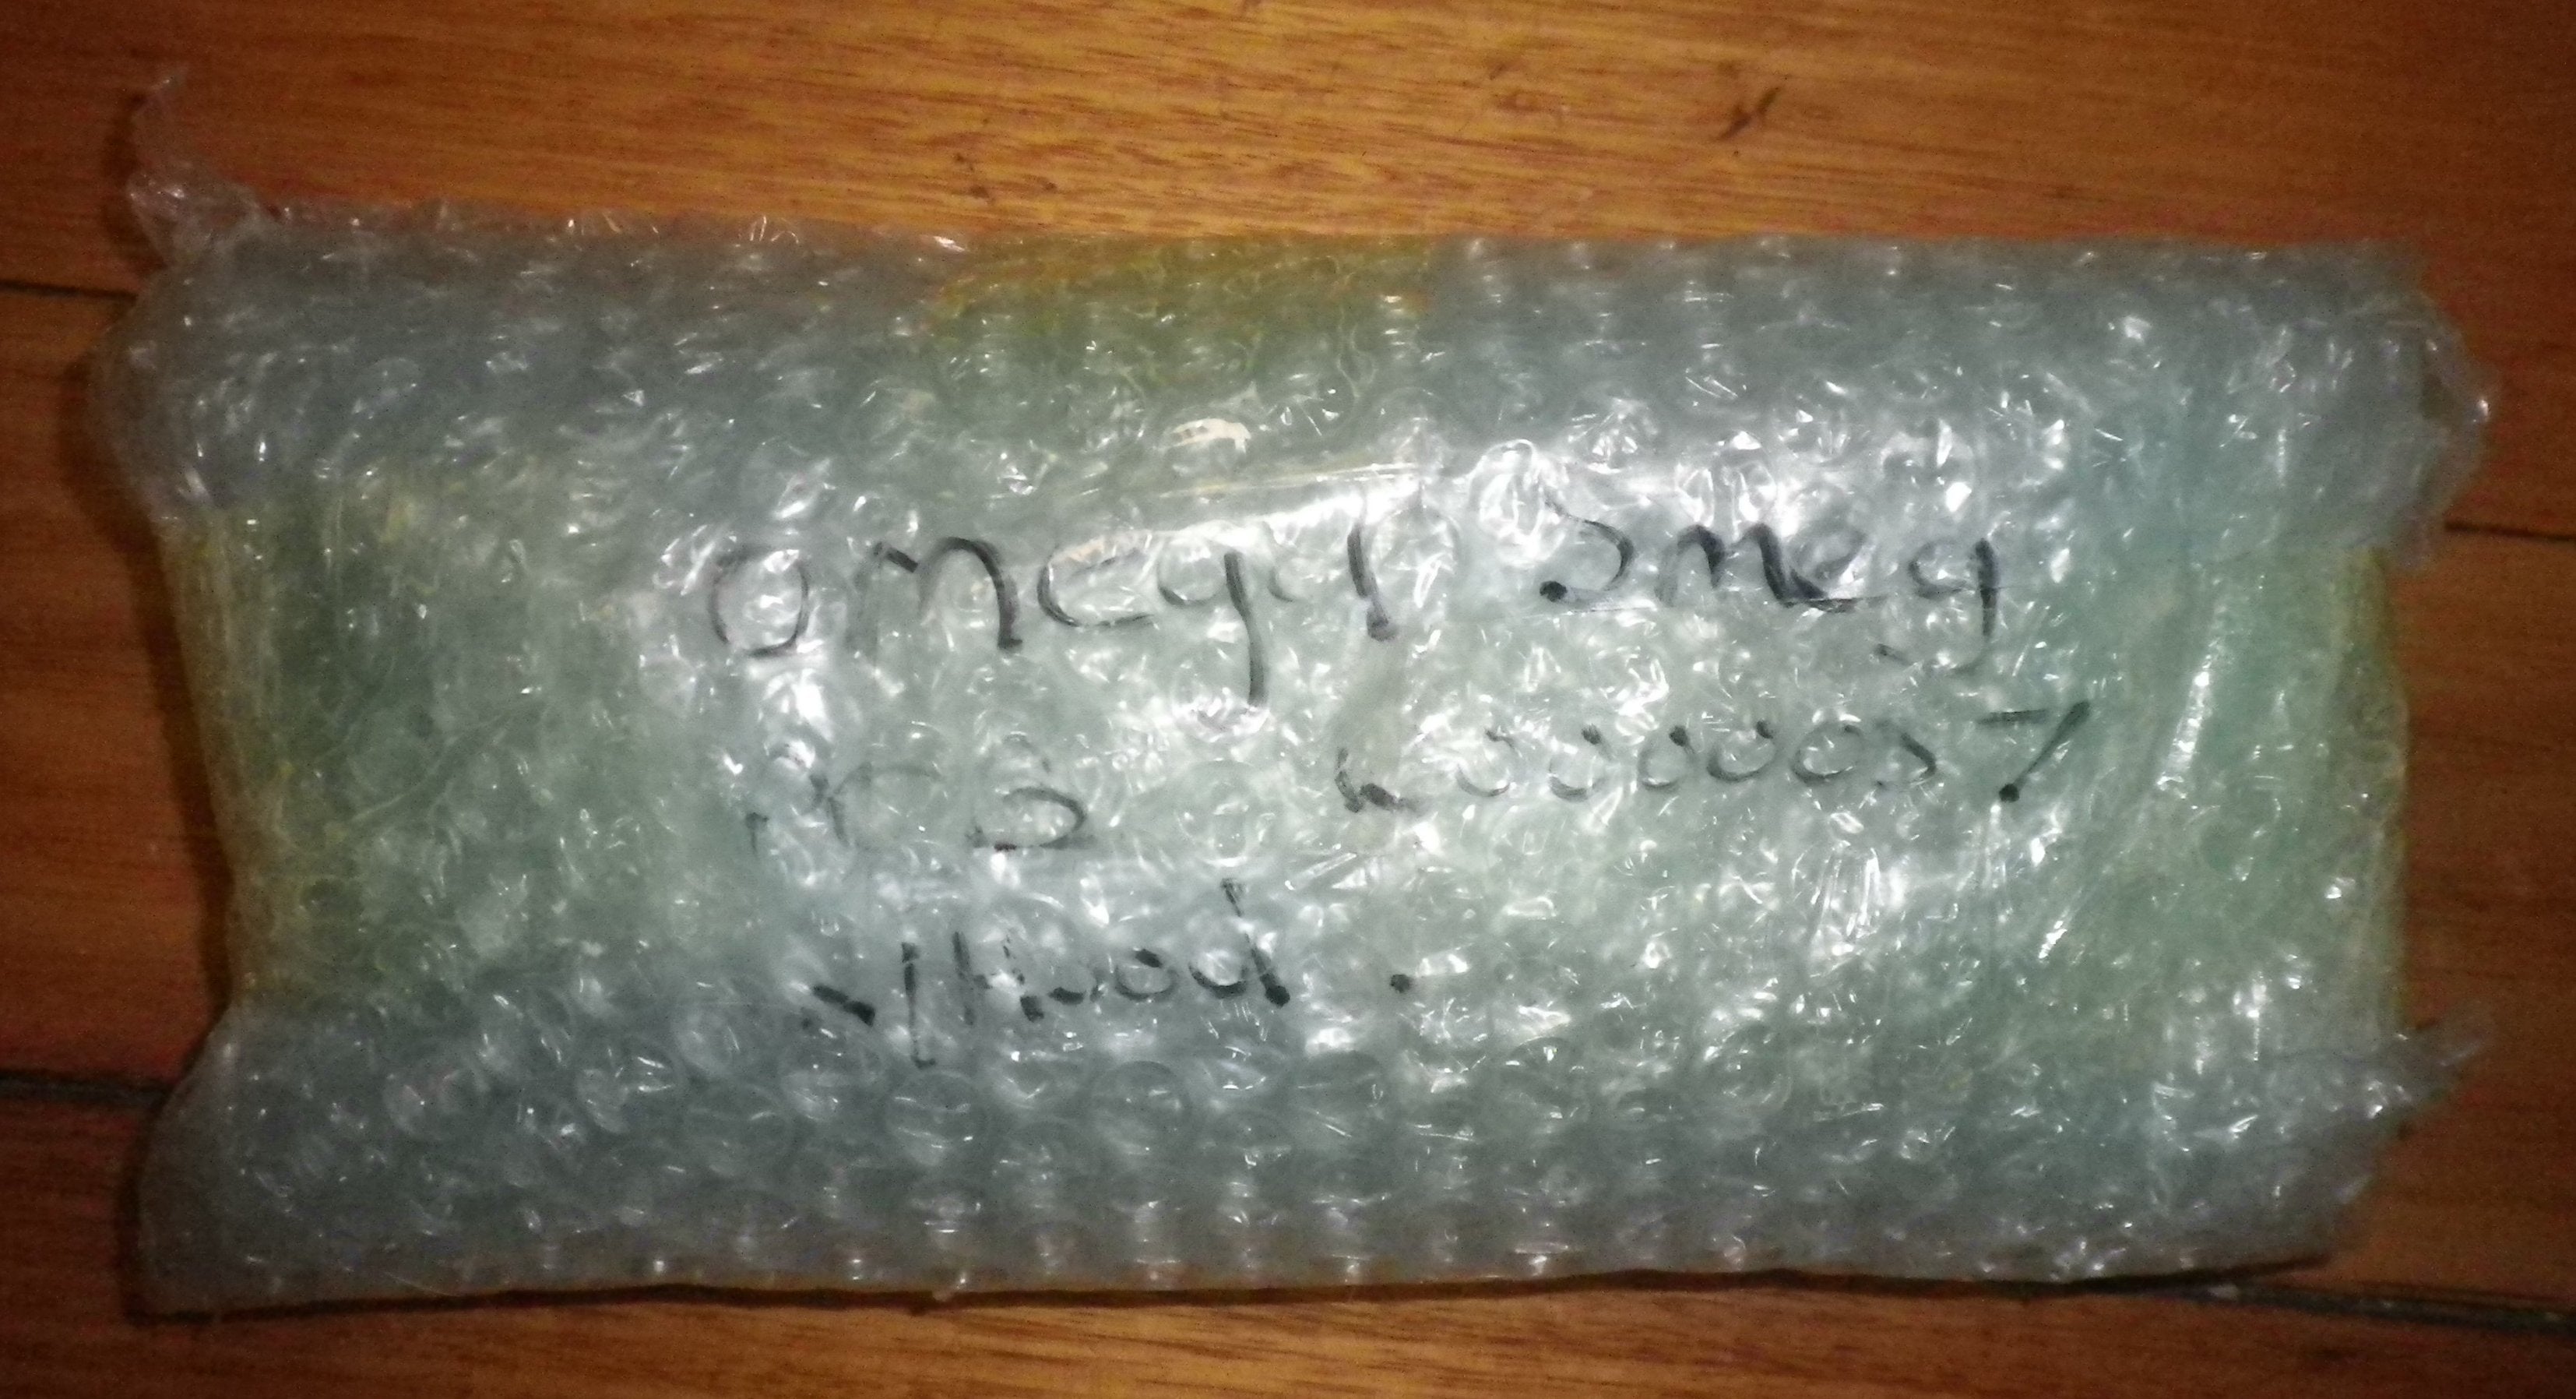
This is an Omega and Smeg rangehood light and fan switch assembly that comes with a PCB and casing. Part number is W0000057, and other part numbers include 08086126, 08080278, 08086278, 1673182. It features 4 push - button switches and a printed circuit board for controlling fan speed and light, all housed in a complete enclosure. This assembly is suitable for some Omega and Smeg rangehood models such as K20L, K20L.2, K20L60SS, K20L90SS, KK020 L1 P Pu, K29L, K39L, K39.2X90, and also fits Franke models DPCA90, K39SS. Unfortunately, this part is no longer available from the manufacturer. But don't worry, it's easy to install and fully guaranteed. We've been in the business of supplying appliance parts to both trade and retail customers for over 25 years, so you can buy with confidence.


Using this rangehood switch assembly is a breeze. First, make sure your rangehood is turned off and unplugged for safety. Then, remove the old switch assembly carefully. You can do this by unscrewing the housing and disconnecting the wires. Next, connect the new assembly in the same way as the old one. Just match the wires and screw the housing back on. When using the switches, press gently to control the fan speed and turn the light on or off. As for maintenance, keep the assembly clean by wiping it with a dry cloth regularly. Avoid using harsh chemicals as they might damage the switches or the PCB. If you notice any issues like the switches not working properly or strange noises, don't try to fix it yourself. Contact our customer service, and we'll help you out. Remember, although it's easy to fit, if you're not sure about anything, it's always a good idea to consult a professional.